
Halloween is fast approaching- which means I'm lagging a bit behind. *Sigh* I guess I'm just not festive enough. A big sparkly featured store display someplace I went to was already selling silver whatnots and 2013!
Anyhoo, I decided to to something simple with my pumpkins this year. Then I found this on marthastewart.com

Leave it to Martha.
Unfortunately, being the procrastinator I am, I wasn't able to get plastic vampire teeth. Thus, I was left with two little sugar pumpkins, no materials.
Like any "creative", I was too stubborn to just carve them.
This is what i came up with:
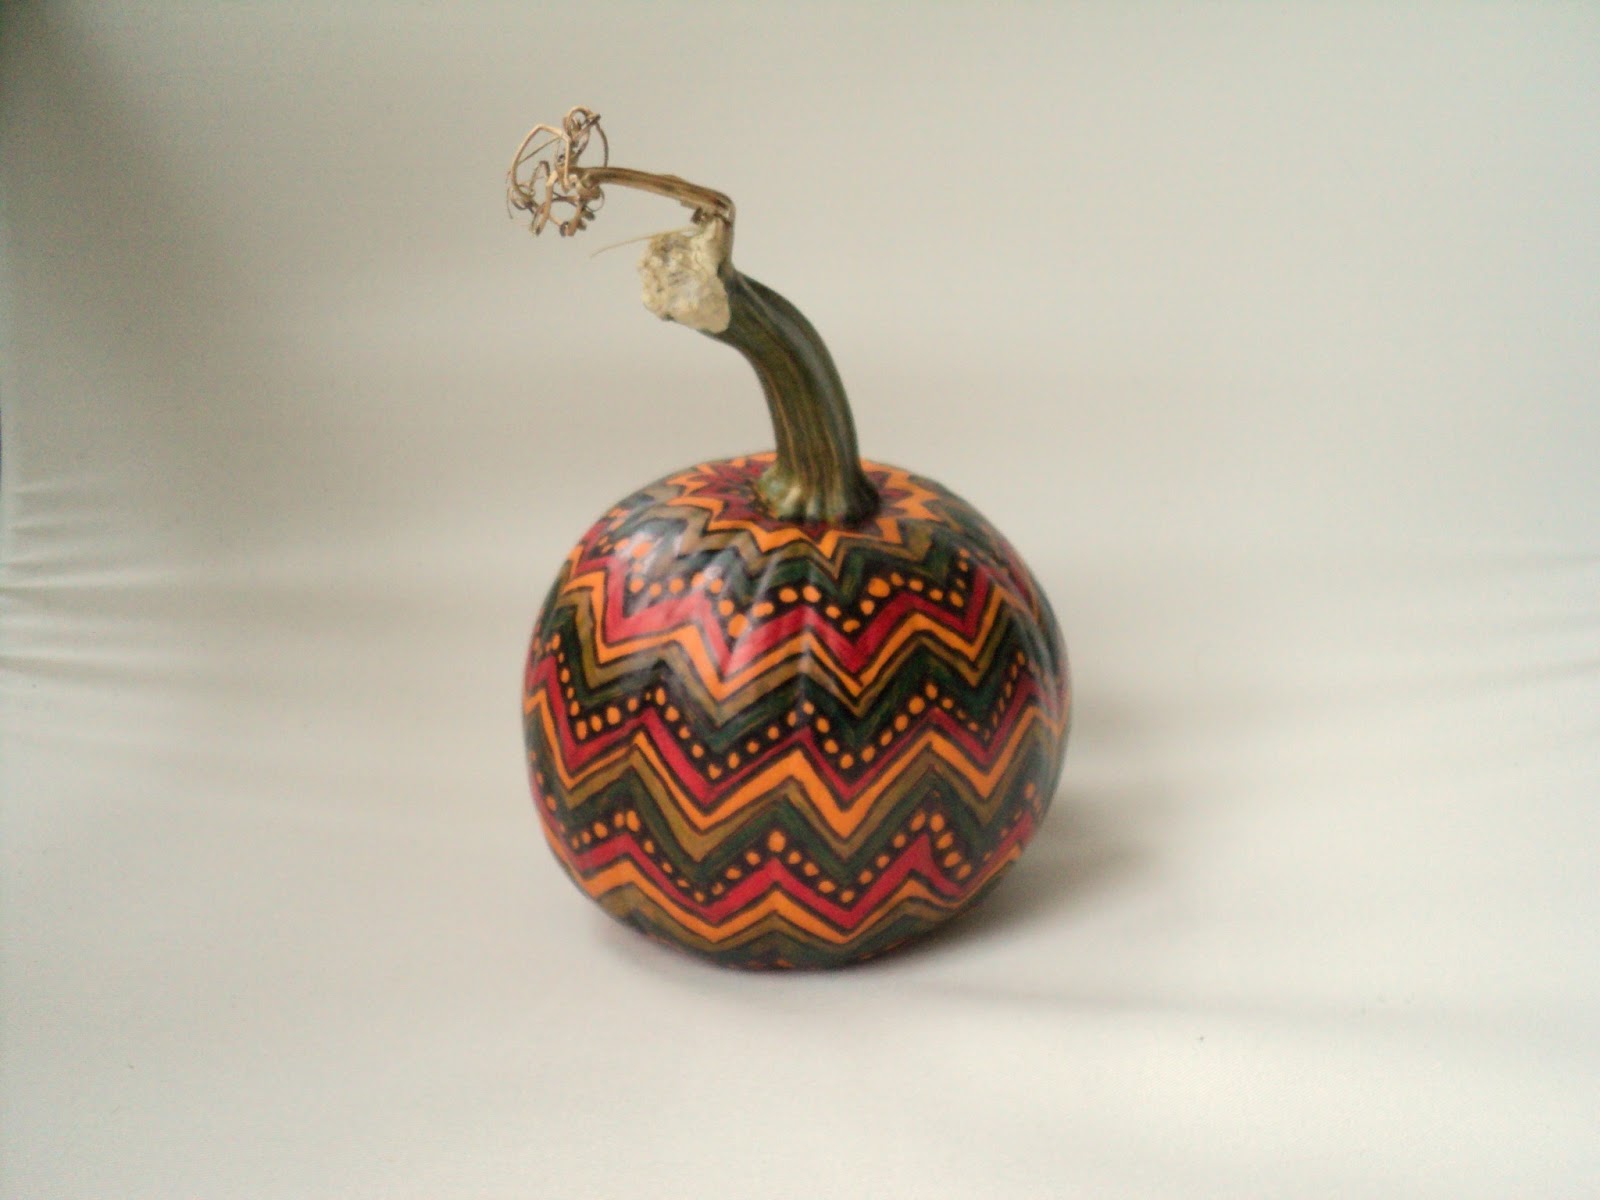
Behold! My very Sharpie'd pumpkin!

Inspired by the lovely scrapbook paper you see on the right left.
How I did it:
- Draw chevron stripes all over a pumpkin. This may or may not test your patience. They don't have to be perfect!
- Color where you want the colors to be!
- For the black circles stripe, I drew a bunch of circles next to each other inside the stripe. I then filled in the leftover space outside of the circles. See below. (Yes, I made it in paint in under 5 minutes using one color and my computer mouse. Don't judge me!)
- Your Sharpie may get smudged (onto your hands) during the process. That's fine- just go over the lines again after you're done! Sharpie will come off of your hands using alcohol based hand sanitizer, or just a cotton pad/ball and some rubbing alcohol!


Some more pics of the pumpkin detail. As you can see, it's not perfect (and shouldn't be!). I like the starburst effect from the top view.
Overall: I'm happier with the results than I expected! It does take a lot of time and Sharpie ink, though. I may need to replace the black one...
No comments:
Post a Comment